Viewport
Scene Light Manager (SLM) features high-performance viewport tools that allow you to adjust lights, rotate HDRI skies, and isolate illumination sources directly in the 3D viewport under your mouse cursor, avoiding N-Panel slider hunting.
1. Interactive HDRI & Sky Rotation
Instead of editing shader mapping nodes or diving into World tabs to rotate environment maps, SLM provides real-time Z-axis rotation shortcuts directly in the viewport. Press and hold the hotkey and drag horizontally to activate the rotation modal.
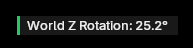
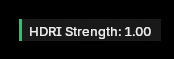
Keyboard & Mouse Controls
- Ctrl + Alt + RMB (Drag) Trigger Rotation Hold the keys and drag the mouse horizontally in the viewport to rotate the active sky coordinate system.
- Left Click or Enter Confirm Action Saves the current rotation angle.
- Escape or Right Click Cancel & Reset Discards changes and resets coordinates to their initial values.
ROTATION → STRENGTH → SUN_INTENSITY (Nishita only) → SUN_ELEVATION (Nishita only) 0.0°, Strength: 1.0, Sun Intensity: 1.0, Sun Elevation: 5.0°).
Smart Context Detection
The rotation operator dynamically evaluates the active scene setup:
2. Viewport Gizmo Buttons
Selecting any light source in the scene reveals a row of floating, transparent viewport button overlays next to the object pivot.
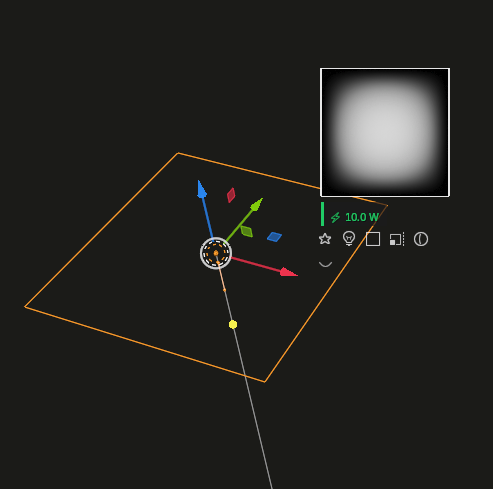
[NOTE] Customizing Gizmos: You can toggle individual button visibility, change sizes, spaces, offsets, and transparency settings under the Addon Preferences.
Clicking and dragging on the Size, Intensity (Power), or Beam/Spread buttons activates a relative drag adjuster. Use these keys to alter sensitivity and targets during drag actions:
3. Quick Popup Menu
Pressing the hotkey in the 3D viewport spawns a complete parameters editor card directly at your mouse coordinates:
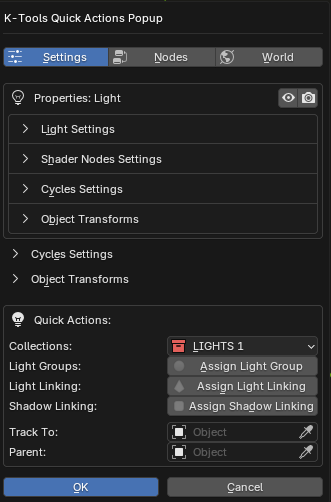
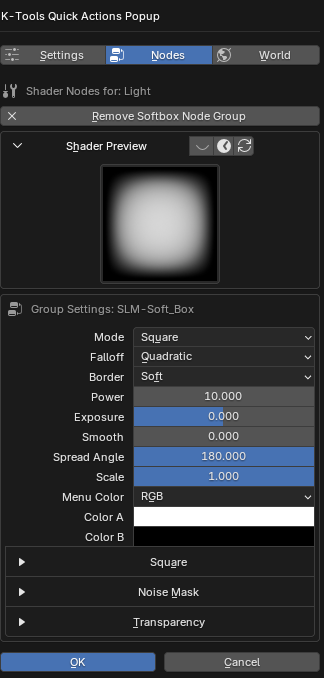
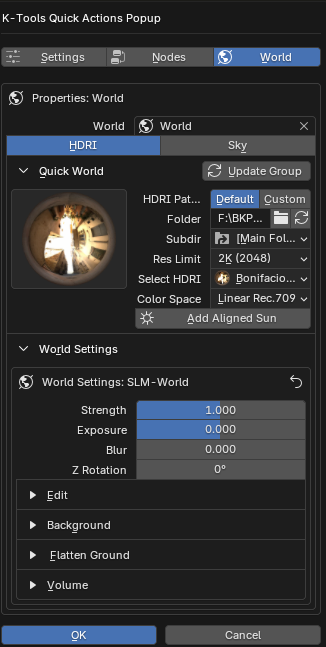
- SETTINGS Tab Offers quick adjustments for color temperatures, exposures, intensities, rig controls, constraints, and visibility toggles. You can also assign the active light to an existing Light Set or use the New Set from Selected option to instantly group all currently selected viewport objects into a newly created tracking collection.
- NODES Tab Enables nodes, binds Gobo structures, loads projection maps, and displays shader preview rendering thumbnails.
- WORLD Tab Swaps background HDRI maps, manages Nishita Sky presets, and drives Z-rotations.
Pressing Alt + Y in the 3D viewport instantly spawns the Studio Lights presets selection menu directly at your cursor:
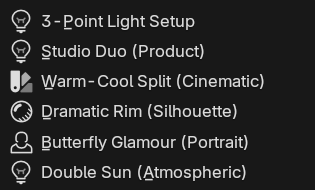
This floating dropdown enables rapid loading of preset light configurations (such as the 3-Point Light Rig, Studio Duo, Warm-Cool Split, etc.) without having to cycle tabs or navigate sidebar panels.
4. Smart Light Isolation (Solo Mode)
Mutes all other lights in the scene instantly to isolate and tweak the active light source's shadows and color bounces.
- Activation: Click the Star/Solo button on the sidebar list or click the Star icon in the Viewport Gizmo.
- State Preservation: All original visibility statuses are cached. Toggling solo mode off returns the scene to its exact prior visibility layout.
- Mute HDRI: Configurable preference to automatically black out world backgrounds while soloing lights to analyze light leaks.
5. Interactive Light Placement (Pointer)
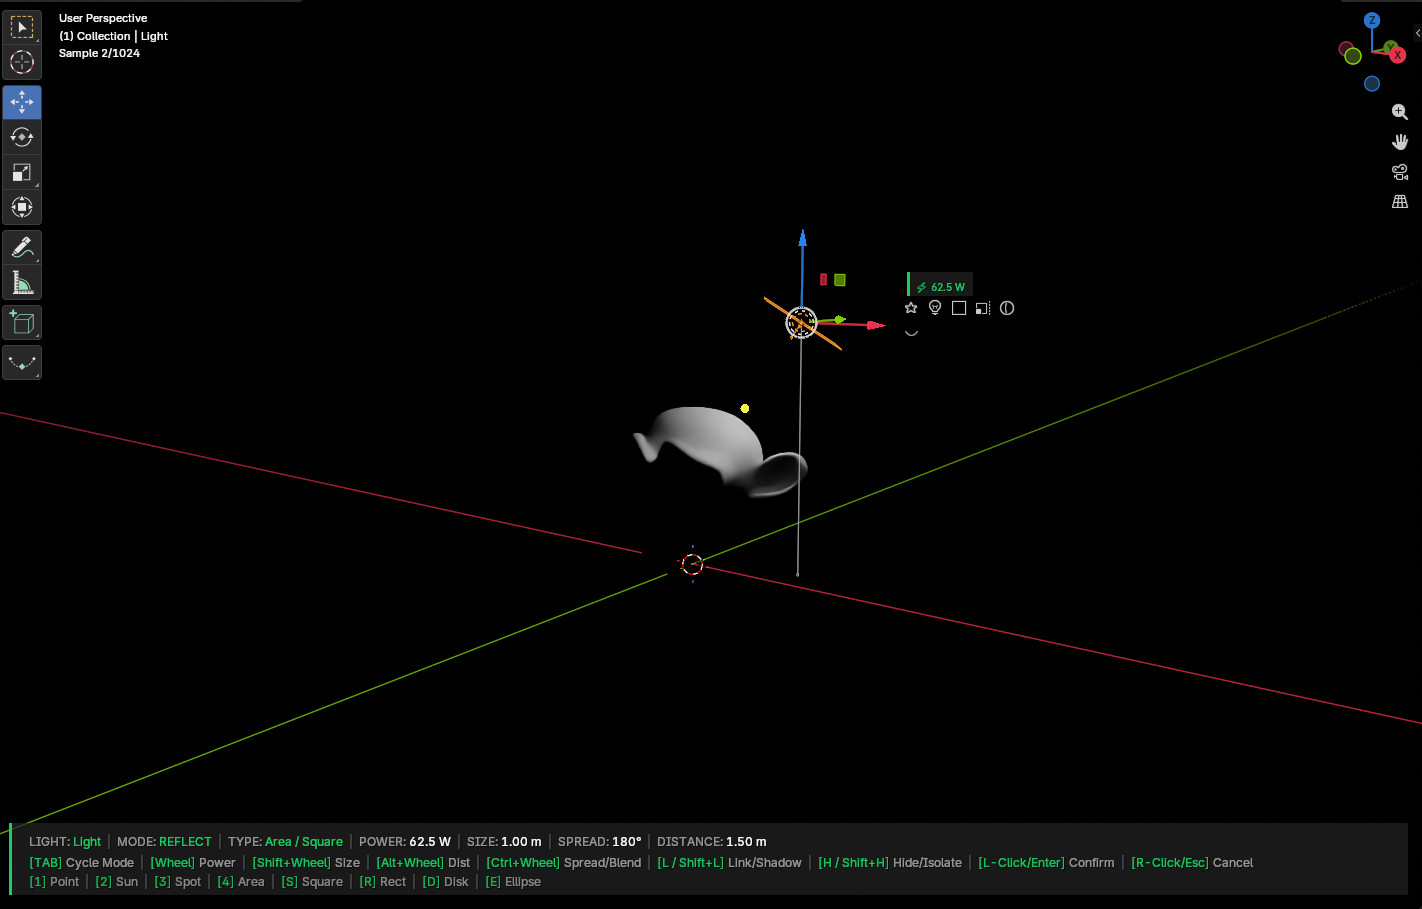
Project lights precisely onto your geometry. Selecting a light and activating pointer placement snaps and aligns the light source along the normals of surfaces under your cursor, pointing directly at the target highlight area. Useful for creating cinematic hair highlights, precise rim accents, and character eye specular spots.
6. Quick Light & Collection Navigation (Next / Prev)
To streamline your viewport workflow, SLM includes dedicated navigation controls that let you sequentially cycle active selection states without clicking on individual list rows or outliner folders.
Viewport UI Buttons
Located at the top header of the Light Manager list panel, you'll find navigation chevrons (◀ and ▶). Clicking these allows you to instantly step through active emitters sequentially with standard mouse clicks.
Keyboard Hotkeys
For speed-focused viewport workflow, use the native key bindings. You can cycle active selection states without looking away from your render: